
Lead-acid to LiFePO4 · RV house power
RV House Battery Upgrade to LiFePO4
A 12.8V 100Ah LiFePO4 option for an RV house battery upgrade, with charger, load and battery-tray checks.
Start With the RV’s House Battery
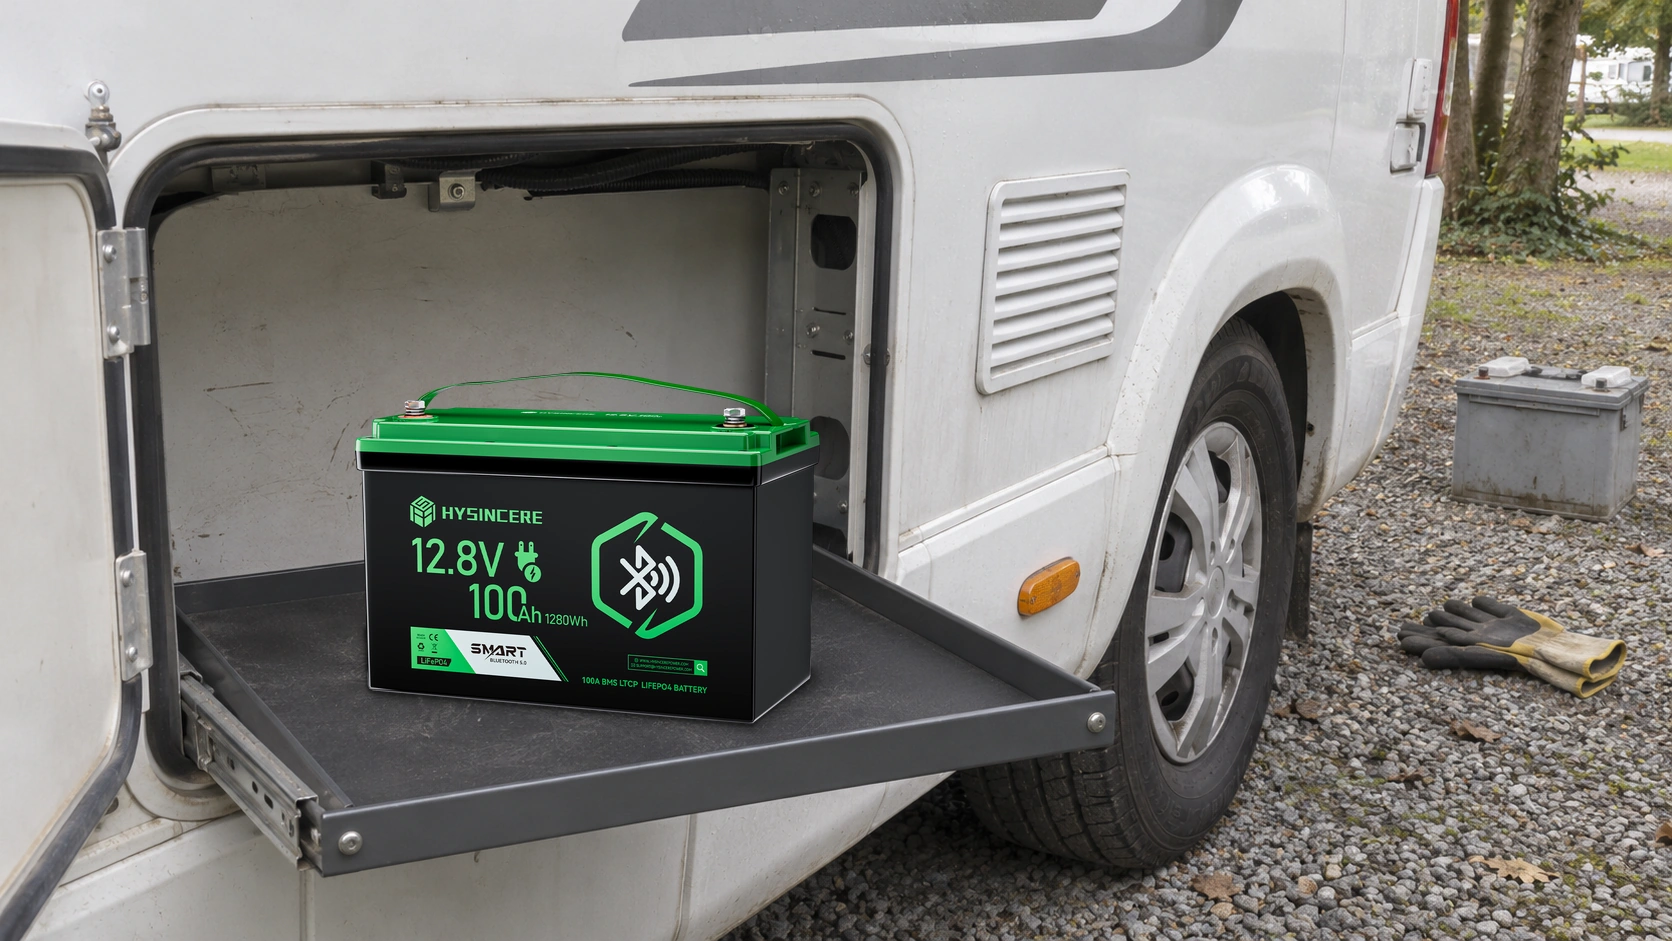
This upgrade approach is for the battery supplying the RV’s living area: lighting, a water pump, ventilation and other onboard loads. It starts with a 12V lead-acid house battery and considers a Hysincere 12.8V 100Ah Bluetooth LiFePO4 Battery as a replacement option.
Keep the house-power review separate from engine starting. Record the existing battery arrangement and the equipment it supplies before selecting the replacement. An RV with several batteries or a higher-voltage house system needs its own configuration review.
View the LF12100N-B 12.8V 100Ah Bluetooth LiFePO4 Battery specification →
Match Capacity to a Day Away From Hookups
Write down which appliances run, their power demand and how long they are used. Include short, higher-current loads as well as equipment that operates for hours. If an inverter is fitted, its DC input demand belongs in the battery assessment.
The reference battery has 1,280Wh of nominal energy, calculated as 12.8V × 100Ah. Available energy at the appliances depends on operating limits, temperature and conversion losses. Use the daily load list to assess the configuration; the capacity label alone cannot establish a weekend’s runtime.
Review Every Charging Source
An RV may charge from shore power, solar and the vehicle’s alternator. Identify the converter, solar controller and any DC-DC charger, then check their settings against the selected battery’s charging specification.
A charger being labelled “12V” does not establish compatibility. Its charging stages, maximum output and response to battery protection also matter. An alternator connection should be reviewed with the vehicle’s electrical arrangement before the battery is changed.
Check the Tray Before Ordering
Measure the usable tray, not only the old battery case. Allow room for terminals, cable bends, the hold-down and access when the battery is removed for service.
- Confirm the battery outline, terminal position and available height with the tray closed.
- Compare continuous and peak demand with the selected battery’s output limits.
- Review cable protection and the isolation arrangement with the installer.
- Evaluate charging and the normal appliance combination before regular use.
Bring the Existing Setup Into the Discussion
Send the old battery label, tray measurements, charger model numbers and a short appliance list. Describe how many days the RV normally operates between charging opportunities.
Hysincere can use those details to discuss the reference battery and any changes needed to the charging or mounting arrangement. The final selection should follow the actual RV configuration.
Discuss Your Battery Upgrade
Share the existing battery, equipment and charger details so we can review the replacement configuration.