Whether you manage a large fleet for a golf course, resort, or industrial facility, proper battery maintenance is the lifeblood of your vehicles. One of the most critical aspects of maintenance is understanding the golf cart battery wiring diagram. Incorrect battery connections can lead to severely reduced torque, deeply imbalanced discharges, overheating, and even severe fire hazards.
For fleet operators and technicians, executing the correct golf cart battery hook-up is critical. This guide breaks down standard 36V and 48V wiring configurations, the difference between series and parallel setups, and best practices for safe installation.
Golf Cart Battery Configuration Basics
Golf carts typically utilize multiple deep-cycle lead-acid or lithium-ion batteries wired together to form a “battery bank.” This bank must achieve the exact operating voltage required by the cart’s motor and controller.
Series vs. Parallel Connections
Understanding how power flows through your cables is the first step:
- Series Connection (Increases Voltage): Wiring the negative terminal of one battery to the positive terminal of the next. This adds the voltages together while maintaining the same capacity (Ah). Most golf carts strictly use series wiring.
- Parallel Connection (Increases Capacity): Wiring positive to positive and negative to negative. This keeps the voltage the same but adds the capacities together.
The 48 Volt Golf Cart Battery Wiring Diagram
A standard 48-volt setup usually consists of either six 8V batteries or four 12V batteries wired in series. Here is the step-by-step procedure to safely wire a 48V system:
Step-by-Step Hook Up Instructions:
- Safety First: Turn the cart’s key switch to the OFF position and engage the Tow/Run switch to “Tow.” Wear insulated gloves and safety glasses.
- Identify the Terminals: Locate the positive (+) and negative (-) terminals on every battery.
- Connect in Series: Take a heavy-gauge battery cable and connect the Negative (-) terminal of Battery 1 to the Positive (+) terminal of Battery 2. Repeat this sequence (Negative to Positive) down the entire line of batteries.
- Attach the Main Power Leads: You will be left with one open Positive terminal on the first battery, and one open Negative terminal on the last battery. Connect the main positive lead from the controller to the open Positive, and the main negative lead to the open Negative.
- Verify the Voltage: Before turning the cart on, use a digital multimeter across the main positive and negative leads. It should read approximately 48V (often slightly higher, around 50V-51V for fully charged lead-acid).
Alternative Hook Up Diagrams
36V Golf Cart Wiring
A 36V system follows the exact same series wiring logic as the 48V setup, but it utilizes six 6V batteries. The series chain connects all six batteries, compounding the 6V output to reach the required 36V total.
The Lithium Upgrade: Eliminating Complex Wiring
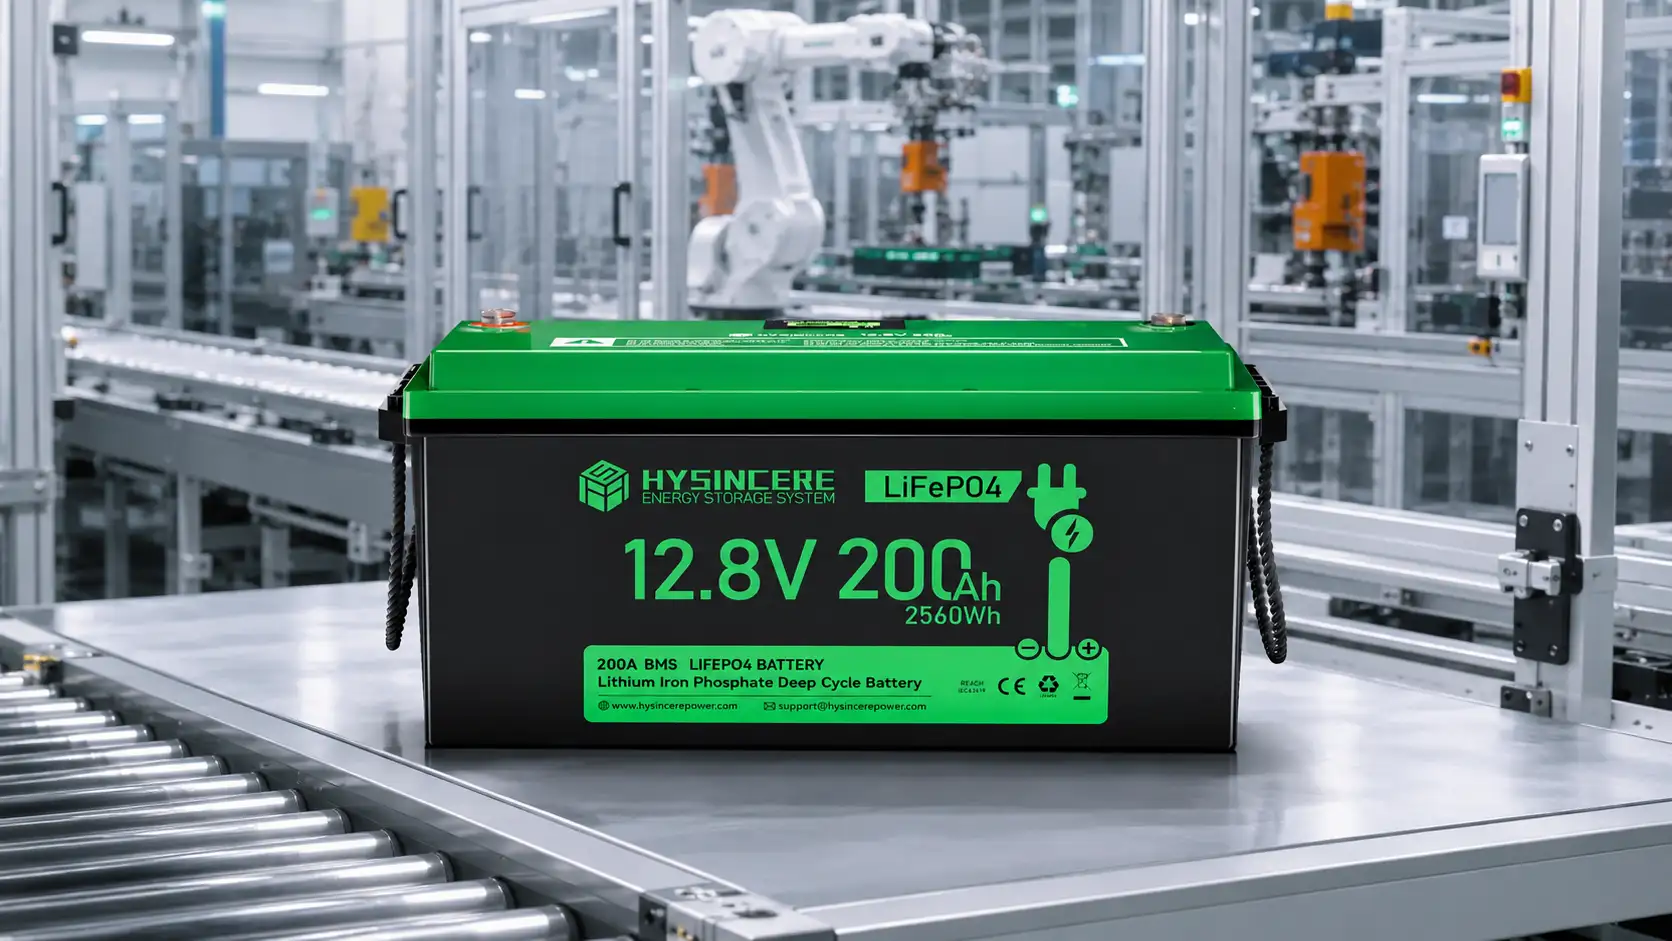
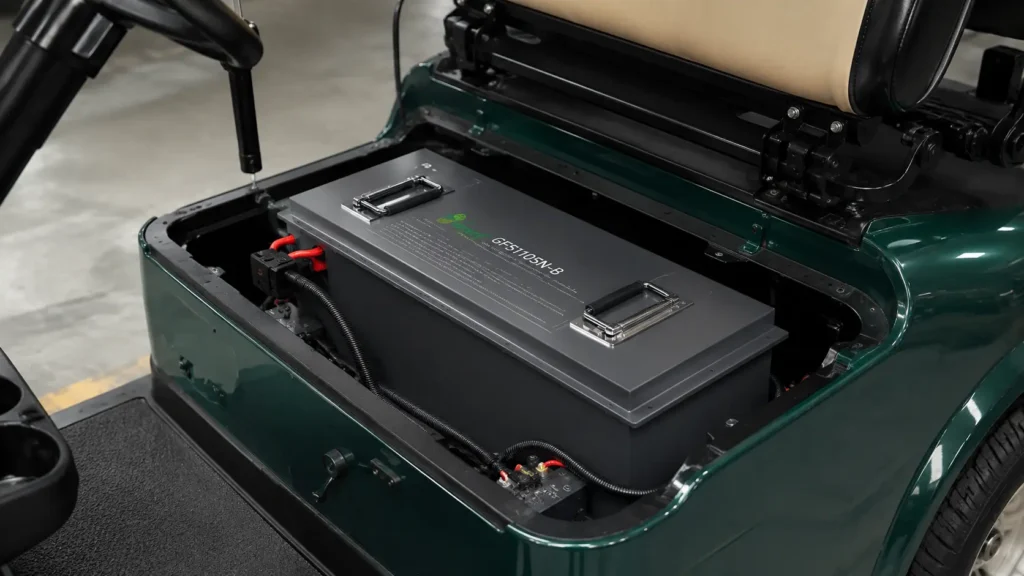
Wiring multiple heavy lead-acid batteries leaves room for error, corrosion, and loose cables. Modern fleets are upgrading to 48V Lithium (LiFePO4) Golf Cart Batteries. Instead of wiring six separate batteries, a commercial lithium setup often utilizes a single 48V battery pack or multiple 48V packs wired in parallel (which is much safer and easier to balance). These advanced packs feature a built-in Battery Management System (BMS) to automatically regulate voltage and prevent short circuits.
Best Practices for Cable Maintenance
Following the correct golf cart battery connection diagram is just the beginning. Regular maintenance ensures longevity:
- Clean the Terminals: Regularly check for white or blue acidic buildup. Clean terminals with a mixture of baking soda and water to ensure efficient power transfer.
- Check Cable Integrity: Frayed, stiff, or corroded heavy-gauge cables introduce severe electrical resistance. Replace worn cables immediately to prevent the motor from overdrawing amperage and overheating.
- Proper Torque: Ensure all nuts are tightened to the manufacturer’s specified torque. Loose connections cause electrical arcing and can melt the battery terminals.
Upgrade Your Fleet with Hysincere
Understanding the correct golf cart battery hook-up diagram is essential for ensuring reliable fleet performance. However, maintaining complex arrays of lead-acid batteries costs businesses thousands of dollars annually in labor and replacement parts.
At Hysincere, we manufacture premium drop-in LiFePO4 golf cart battery solutions. Our smart lithium packs eliminate the complex web of series wiring, drastically reduce cart weight, and provide zero-maintenance power with an advanced BMS. Contact our engineering team today to simplify your fleet’s power systems and maximize your operational ROI.