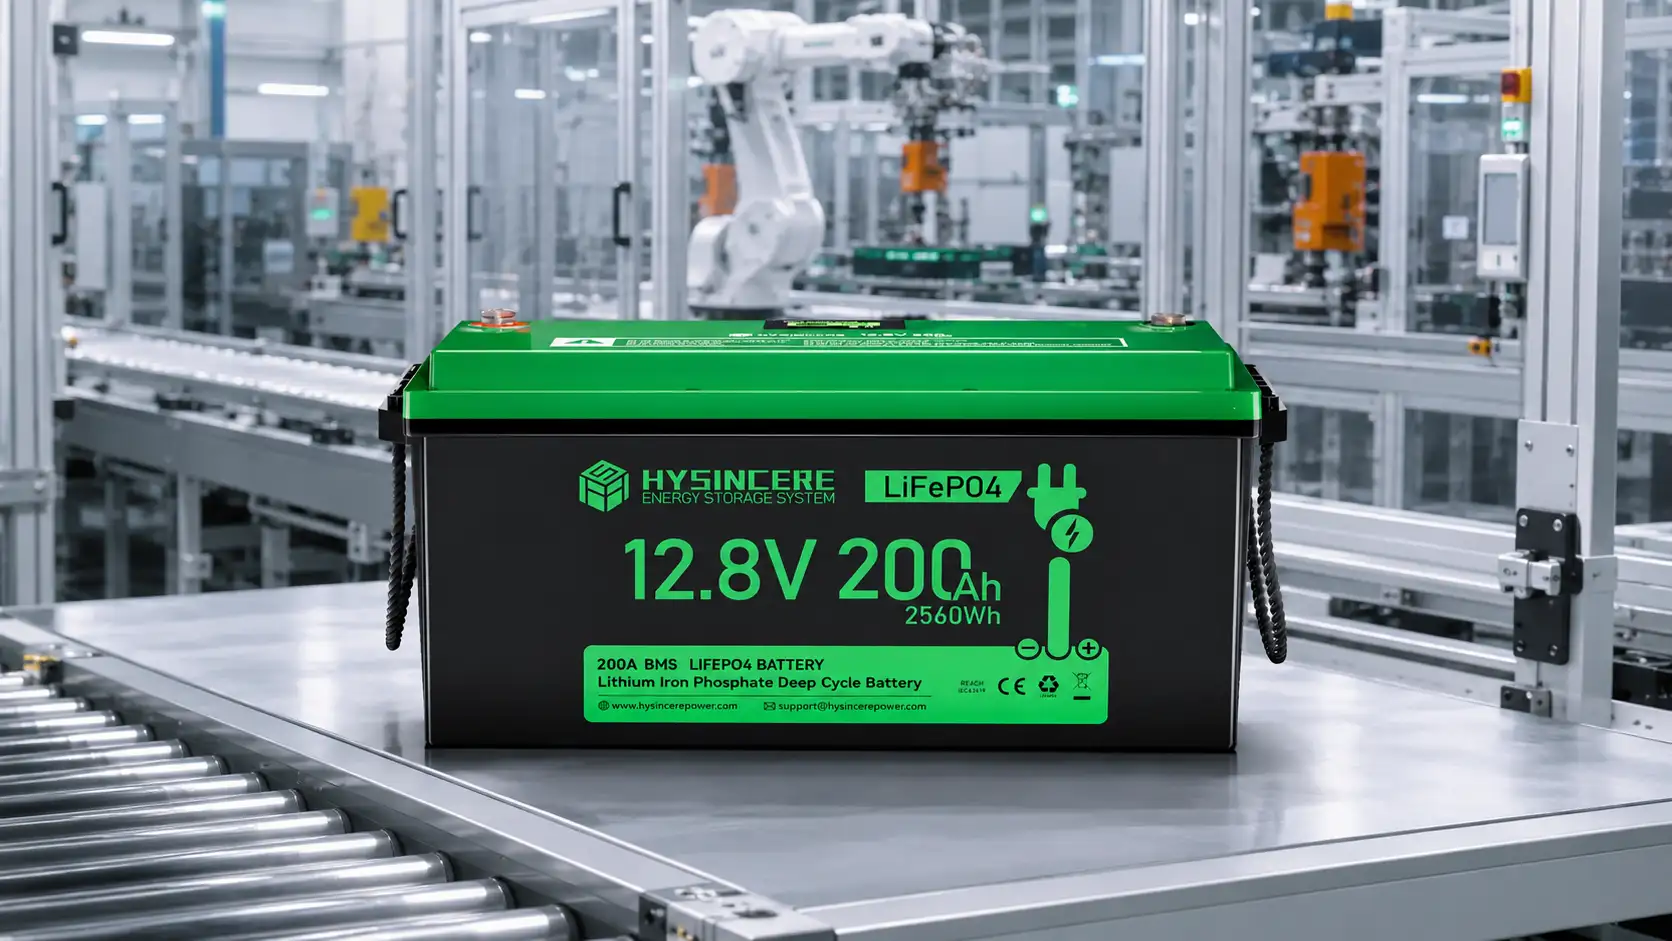

Battery replacement measurements sound simple until a case fits the tray but leaves no room for the terminals, cables or hold-down. A LiFePO4 replacement has to work in the whole installation, not just match three numbers on a datasheet.
You can start with the battery already installed, the empty compartment or the drawing for the exact model. Measure first, then compare the result with Hysincere’s lead-acid replacement battery range.
This guide covers physical fit. You will still need to match voltage, capacity, charging, current limits, protection and operating temperature to the actual system.
Three dimensions are only the starting point
A replacement has to fit more than the tray. Check these six points before you call two batteries the same size:
| What to look at | What to check | Why it matters |
|---|---|---|
| Battery envelope | Maximum overall length, width and height | The entire battery—not only the lower case—must fit. |
| Usable installation space | Smallest clear internal dimensions after obstructions | A cabinet can be much larger outside than the space available inside. |
| Terminals and polarity | Terminal type, size, position and positive/negative orientation | The case may fit while the existing cables cannot connect safely. |
| Cable and service clearance | Cable exit direction, bend space, covers and tool access | Connections and maintenance need space above and beside the case. |
| Hold-down | Base ledge, tray lip, top clamp, strap or bracket | The battery needs a suitable restraint; contact with the surrounding box is not one. |
| Getting it in and out | Door, hatch or opening size and removal route | A battery can fit in its final position yet be impossible to load or remove. |
If one of these details is missing, leave it open and measure it later. Calling two batteries “the same size” too early is how terminal, cable and hold-down problems get missed.
Start with what you can actually measure
You may have the old battery, an empty tray or only a drawing. Choose the option that matches your project, and the checklist will show you what to measure next.
Start with the Information You Have
Have the old battery, access to the empty compartment, or only a drawing or case standard? Choose the closest option below to see what to measure and photograph before comparing replacements.
Measure the Battery You Are Replacing
Use its dimensions only if it fits the equipment correctly today.
Measure the maximum overall length, width and height at the widest and highest points. Record case height separately from overall terminal height where relevant. Photograph the terminal face, polarity, cable direction and retention method before removing the battery.
| Item | What to note |
|---|---|
| Case envelope | Maximum L × W × H in mm, including protrusions that affect installation |
| Terminals | Type, size, position, polarity and cable exit direction |
| Retention | Base ledge, top clamp, strap or bracket |
| Photos and model | Battery label, model number, clear photos and any available drawing |
Measure the Clear Space in the Compartment or Tray
Record the smallest clear internal dimensions, not the enclosure’s outside size.
Measure the usable internal space after accounting for brackets, insulation, door hardware and other obstructions. Check the loading path as well as the final installed position, and reserve space for cables, protection devices and service access.
| Item | What to note |
|---|---|
| Usable envelope | Smallest clear L × W × H after brackets, insulation and door hardware |
| Loading path | Opening size and the route used to install or remove the battery |
| Service clearance | Space for cable bend radius, fuse, disconnect and terminal access |
| Retention | Tray lip, clamp, strap and approved mounting orientation |
Check the Drawing or Case Standard
A BCI, DIN or JIS reference is a starting point, not confirmation that a replacement will fit.
Use the exact drawing revision and confirm its measurement basis. Compare case height and overall height separately where both are supplied. A shared case designation does not replace checks for terminal layout, polarity, hold-down geometry and the actual installation space.
| Item | What to note |
|---|---|
| Source | Exact model drawing, revision and measurement basis |
| Heights | Compare both case height and overall height where supplied |
| Interfaces | Terminal layout, polarity, hold-down and mounting orientation |
| Before choosing | Compare the actual compartment and cable route with the drawing |
Measure the complete battery envelope
Measure every dimension from the same faces, and mark those points on a photo or sketch. Millimeters are easiest to compare. If your source uses inches, keep the original number beside the conversion so it can be checked later.
Length
Measure the greatest end-to-end distance. Include a handle, molded projection or other feature if it affects installation, removal or clearance, and note what you included.
Width
Measure at the widest part of the battery. The lid and lower case are not always the same width, so check both instead of following the label orientation by habit.
Case height and overall height
Drawings do not always define height in the same way. When possible, write down both:
- case height: the height of the enclosure without terminal projections; and
- overall height: the highest installed point, including terminals, covers or other required projections.
The available height must leave room for the battery, terminal connection, protective cover and the tools needed to work on it. The selector never rotates the height dimension.
| Measurement | What to write down | Best source |
|---|---|---|
| Overall envelope | Maximum L × W × H, including the unit | A marked photo or the current drawing |
| Case height | Enclosure height before terminal projections | A drawing definition or measured reference |
| Overall height | Highest point of the installed battery | The actual terminal and cover arrangement |
| Measurement basis | Features included or excluded | Notes, marked photographs or drawing callouts |
Measure the space the battery can really occupy
For a tray, battery box or equipment compartment, measure the smallest clear space inside it. Start at the walls and subtract anything that occupies part of the battery space:
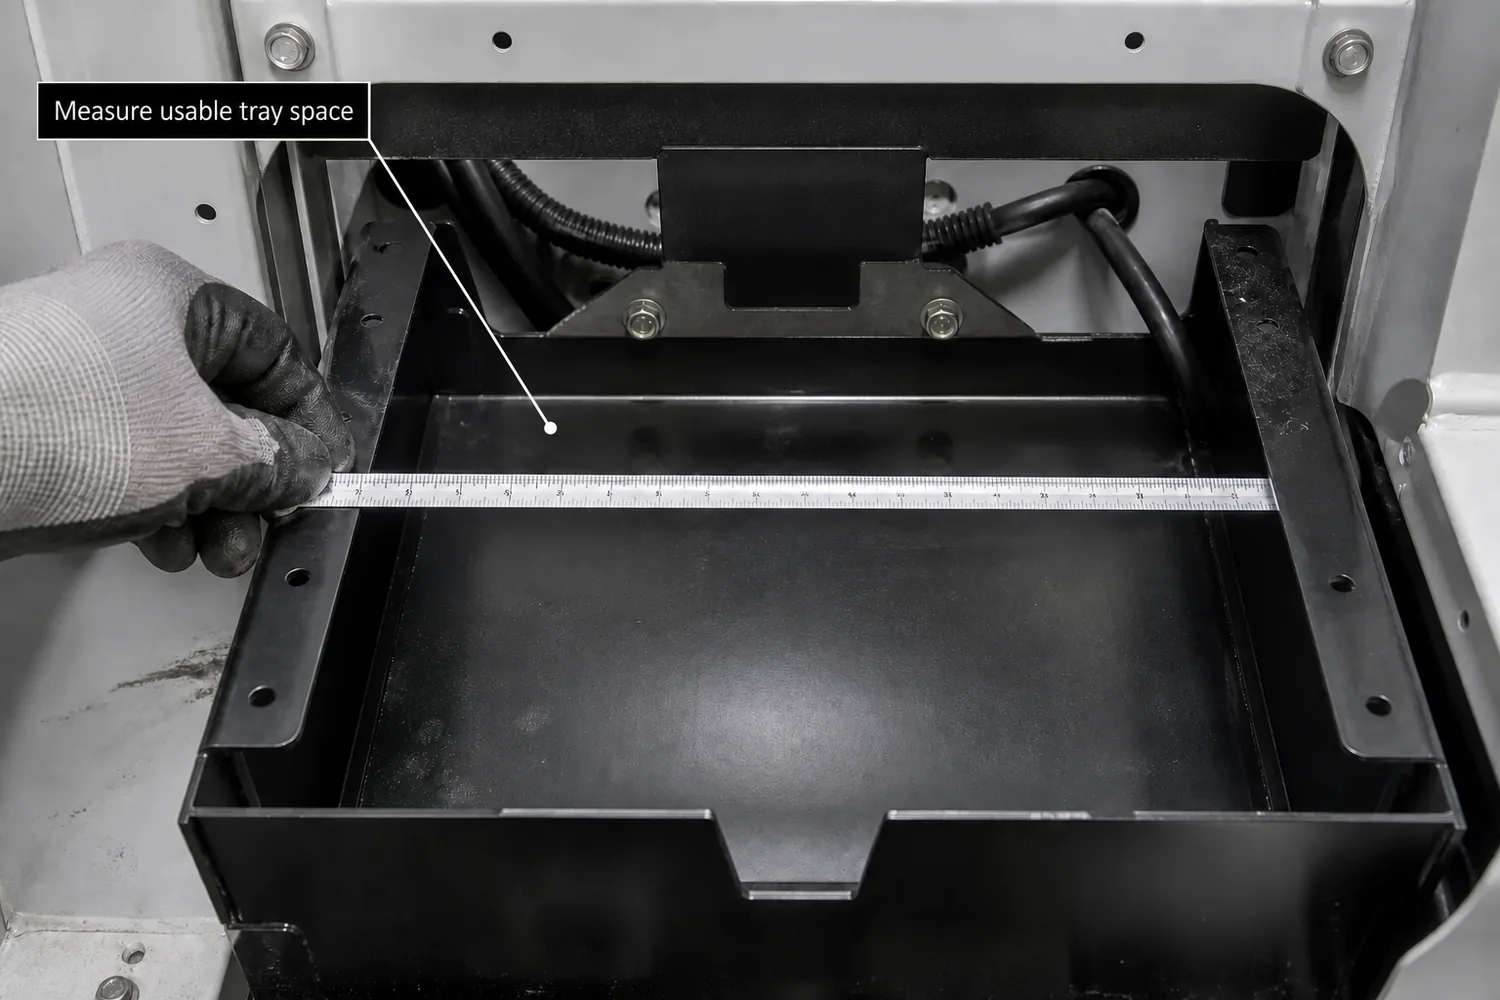
- tray lips, hold-down brackets and structural flanges;
- door hinges, latches, internal covers and insulation;
- fuses, disconnects, busbars, sensors and cable supports;
- cable bend radius and terminal protective covers;
- adjacent equipment and required service access; and
- the opening or loading path used to install and remove the battery.
Do not enter the cabinet’s outside dimensions. Enter the largest battery size that still leaves room for all of these restrictions.
Record terminals, polarity and cable direction
Two cases can look interchangeable on a drawing and still need completely different cable work. Before choosing a replacement, write down:
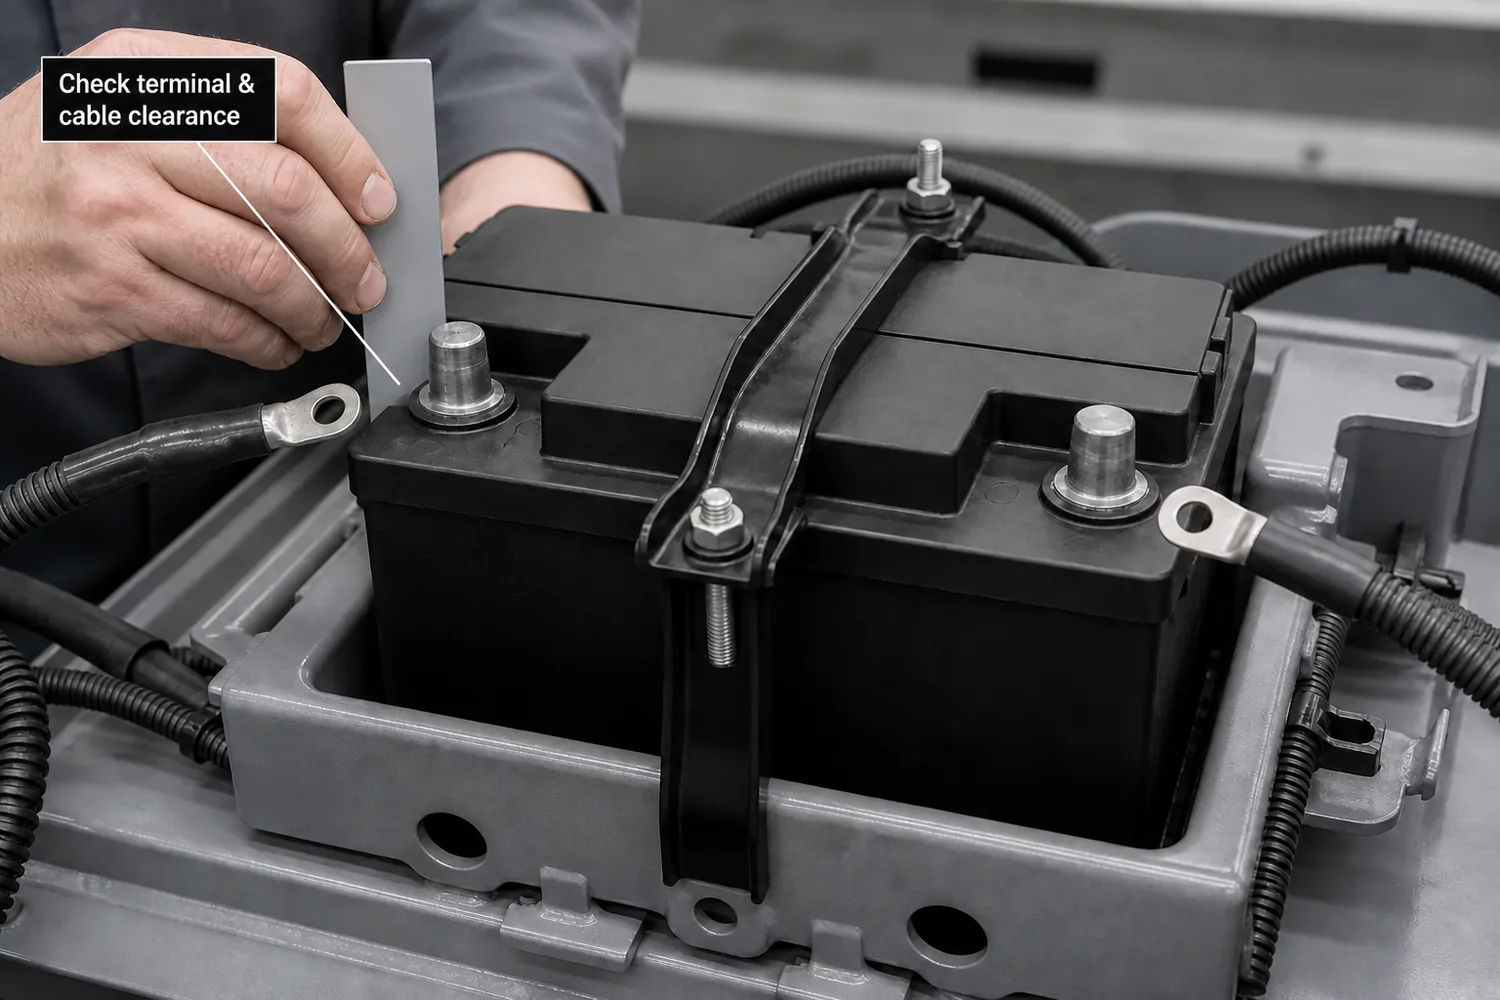
- terminal type and the exact connection interface;
- terminal or stud size where it is verified;
- positive and negative terminal positions when viewed from a defined reference face;
- the direction from which each cable approaches and exits;
- lug orientation, protective cover and insulation requirements;
- available tool access for assembly and inspection; and
- whether rotating the battery on the tray would reverse the practical cable arrangement.
If a battery only fits after a cable is extended, sharply bent or rerouted, the cable and protection changes need to be checked as part of the installation—not treated as a small adjustment.
Make sure the battery can be secured—and removed
How the original battery is held matters as much as whether it sits in the tray. Identify the base ledge, molded pocket, top clamp, strap or side bracket, then make sure the replacement works with that restraint in an orientation the manufacturer allows.
Check the route in and out as well: the opening, lifting angle, nearby wiring and room for tools. If unrelated equipment must be removed or cables forced aside, the replacement is not truly drop-in.
A case designation is a reference, not a fitment decision
BCI, DIN, JIS and manufacturer case references are useful starting points, but the name alone does not confirm the fit. Find the current standard or manufacturer drawing, then check:
- which reference faces define length, width and height;
- whether the stated height is case height or overall height;
- terminal type, layout and polarity;
- hold-down geometry and mounting orientation; and
- whether the real tray or compartment matches the drawing assumptions.
That is why this guide does not use a generic group-size conversion chart. Without the exact source, a neat cross-reference can hide differences in dimensions, terminals, hold-downs and the equipment itself.
Use the selector to build a shortlist, not a verdict
The selector compares your system voltage and maximum usable L × W × H with dimensional data from the current published lead-acid replacement range.
- Choose the voltage of the existing battery system.
- Enter the smallest usable length, width and height, not the enclosure’s outside dimensions.
- Select millimeters or inches and use the same unit for all three measurements.
- Use the returned products as a size shortlist, then check the rest of the installation.
The selector can test a 90-degree turn on the tray by exchanging length and width; it never exchanges height. A turned case may fit the tray but still put the terminals, cables or hold-down in the wrong place.
Check Battery Sizes Against Your Available Space
Choose the system voltage and enter the smallest clear space available for the battery. We’ll show published products whose recorded case dimensions are within those limits. Allow for brackets, the compartment door, cable bends and service access, then check the terminals, polarity, hold-down and current drawing before ordering.
How to interpret the pre-screen results
| Result | What it tells you | What to do next |
|---|---|---|
| One or more size candidates | At least one published product fits the L × W × H you entered, including the permitted 90-degree length/width rotation. | Compare the current drawing with the terminals, polarity, hold-down, cables, clearance and electrical requirements in the actual installation. |
| No product found | No current product fits the space, or a product does not yet have enough dimension data to be matched. | Check the measurements once more, then contact us if you want help with another product or a custom enclosure. |
| A measurement is still missing | The case may fit, but another part of the installation is still unknown. | Add the missing photo, drawing or measurement before choosing the battery. |
Use the result as a shortlist. Before ordering, compare the current product drawing with the terminals, polarity, hold-down, cable clearance, mounting orientation and tolerances in the real installation.
Then check the electrical system
Once the battery fits physically, check the system voltage, charging sources, continuous and surge current, protection, operating temperature and duty. Hysincere’s lead-acid-to-LiFePO4 conversion checklist walks through those questions.
Case size does not determine the right capacity. A smaller battery is not automatically suitable because it is easier to install, and a larger one is not automatically better. Runtime depends on the load, permitted depth of discharge, conversion losses, charging opportunities and the margin required for the project.
What to send if you want help checking the fit
You do not need a long message. A few clear photos and measured dimensions are usually enough to start. Send:
- existing lead-acid battery manufacturer, exact model and label photographs;
- nominal system voltage and the equipment or application;
- maximum usable L × W × H with unit and marked reference points;
- case height and overall height when both can be identified;
- terminal type, size, position, polarity and cable exit direction;
- tray, clamp, strap, base ledge or bracket details;
- clearance for terminal covers, cable bends, fuses and disconnects;
- door, hatch or loading-path dimensions;
- approved mounting orientation and environmental constraints; and
- mechanical drawings, revision numbers and photographs of the empty installation space.
Photos are most useful when they show the measurement points, terminal orientation and surrounding hardware—not only the battery label. That makes it much easier to compare a candidate with the real installation.
Measure the space, then check the installation
Measure the battery, the clear space around it, and the terminal and hold-down layout. Then use the selector to narrow the product range. If you want help checking the result, send the measurements, a few clear photos and the exact model of the battery being replaced.
Want us to check the fit?
Send the current battery model, usable compartment dimensions, terminal layout, hold-down details and a few installation photos. We can compare them with the current product drawing.
Lead-Acid Battery Size and Fitment FAQs
Quick answers to the fit questions that come up before a lead-acid-to-LiFePO4 replacement.
Is the same L × W × H enough to confirm a drop-in replacement?
No. Matching L × W × H is only the first step. The terminal type and position, polarity, cable route, hold-down, installation opening, service clearance and mounting orientation also have to work in the equipment.
Should I measure the battery or the battery compartment?
Measure whichever one sets the real limit. Use the existing battery only if it already fits correctly; otherwise measure the smallest clear internal space after allowing for brackets, insulation, doors, cables and service access.
Can length and width be exchanged when the battery is rotated?
The selector can test a 90-degree turn on the tray, but it never rotates height. Even if the case fits that way, check that the terminals, polarity, cables and hold-down still work in the new orientation.
Does a BCI, DIN or JIS case designation prove fitment?
No. Use the designation to find the correct drawing, then compare its dimensions, terminals, polarity and hold-down with the actual battery space.
What can the battery size selector check?
It helps shortlist models by system voltage and case dimensions. Check terminals, cable clearance, hold-downs, charging compatibility and current limits against the specific battery and the complete installation. A matching case size alone does not confirm that a battery is a suitable replacement.
The tools help narrow the options by physical size. Before choosing a battery, check the current product drawing and make sure the voltage, charging, current, terminals, polarity, hold-down, cable clearance, mounting orientation and operating temperature suit the actual installation.